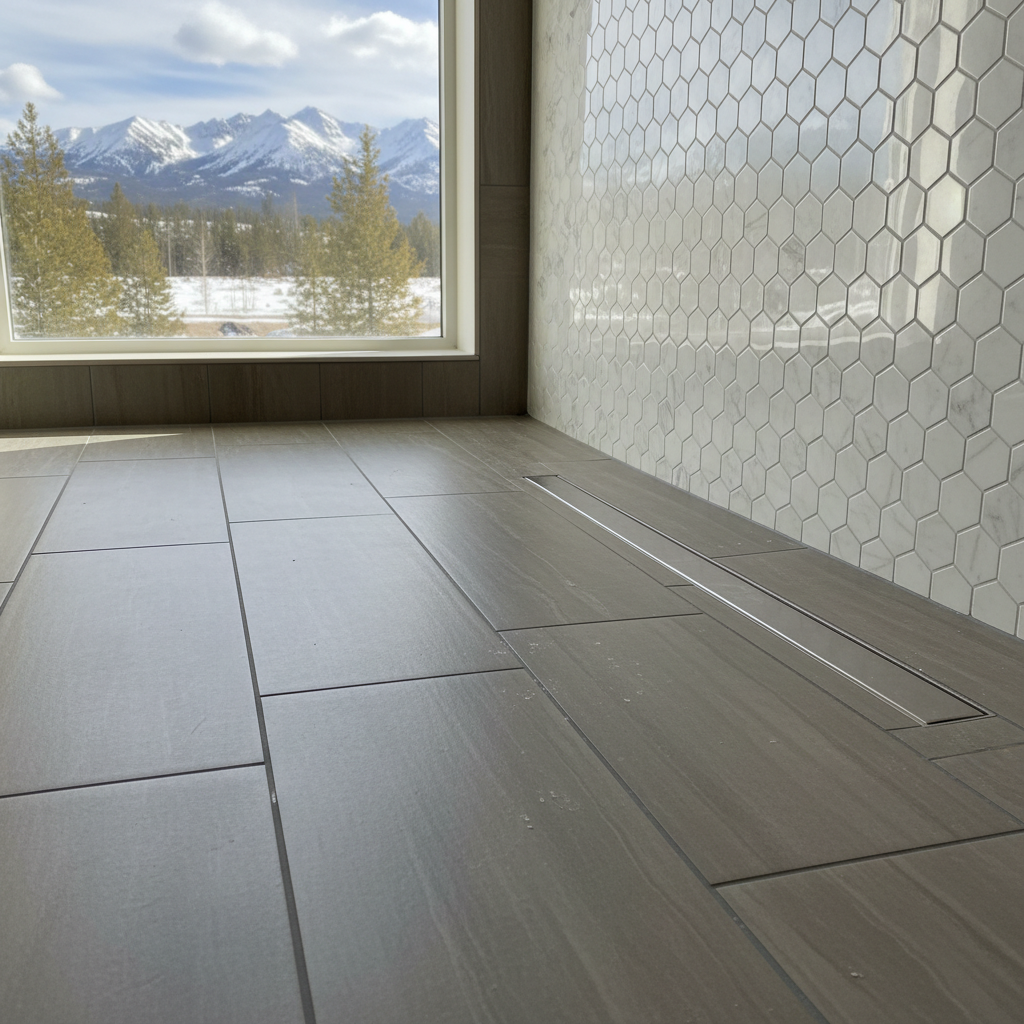
Alright, let's talk tile and flooring. I get a lot of questions from folks around Big Sky, especially when they're looking to upgrade their homes. It's not just about picking a pretty color, you know; there's a whole lot that goes into making sure your floors last, especially with our unique climate up here. So, I figured I'd tackle some of the most common questions I hear. No fluff, just the straight goods.
How long does a tile or flooring installation actually take?
That's always one of the first things people ask, and honestly, it varies a ton. A small bathroom floor, maybe 30-40 square feet, could be a couple of days if it's just tile and grout. But if we're talking a full bathroom remodel with a tiled shower, or a whole main floor with new hardwood, you're looking at a much longer haul.
Here's what impacts the timeline:
- Size of the area: Bigger space, more time. Simple as that.
- Type of material: Vinyl plank goes down quicker than intricate mosaic tile work. Hardwood needs time to get used to the room's humidity.
- Prep work: This is huge. If your subfloor needs significant leveling, patching, or even replacing because of water damage, that adds days, sometimes weeks. You just can't rush proper prep.
- Demolition: Ripping out old flooring takes time and creates a mess.
- Drying/Curing times: Grout needs to cure, thinset needs to dry, sealers need to set. You can't walk on it right away, and you definitely can't grout immediately after laying tile.
- Complexity: Lots of cuts, patterns, or transitions really slow things down.
For a typical 5x8 bathroom, a tile floor might be 2-3 days from demo to being ready-to-walk-on. A tiled shower could add another 3-5 days. A large kitchen and living area with engineered hardwood? You're probably looking at 5-10 days, depending on the square footage and how much furniture we're moving around. I'll always give you a realistic timeline upfront.
What's the deal with subfloor preparation? Is it really that important?
Absolutely, 100%, without a doubt, YES. Your subfloor is the foundation for your new flooring. If it's not right, nothing else will be right. Think of it like building a house on a shaky foundation – it's just going to cause problems down the road. I've seen too many issues arise from folks trying to cut corners here.
We're looking for a few key things:
- Flatness: Not necessarily perfectly level, but flat. Any humps or dips will show through your new flooring, especially with tile or thinner materials like vinyl plank. We use leveling compounds or grind down high spots.
- Soundness: It needs to be solid, no squeaks, no movement. If your plywood is delaminating or there's rot, it's got to go.
- Cleanliness: Dust, debris, old adhesive residue – it all needs to be removed for proper sticking.
- Moisture: This is critical. We check for moisture content, especially in areas like bathrooms or basements. High moisture can lead to mold, warping, or adhesive failure.
Skipping proper subfloor prep means you'll likely end up with cracked tiles, gapping planks, or a bouncy floor. It's not a step you want to skimp on, trust me.
Can I put new flooring directly over my old flooring?
Sometimes, but usually, I'd advise against it. It's tempting to save on demo costs, but it often creates more problems than it solves. Here's why:
- Height issues: Adding another layer raises your floor height. This can create trip hazards at doorways, make appliances not fit, or interfere with door swings.
- Subfloor integrity: If the old flooring has issues (like unevenness or water damage), covering it up doesn't fix it. It just hides it, and those problems will eventually affect your new floor.
- Adhesion: New materials don't always stick well to old surfaces, especially if the old surface is cushioned (like old vinyl) or has residue.
- Warranty: Most manufacturers' warranties require installation over an approved, clean subfloor. Layering might void your warranty.
The only time I'd really consider it is if you have a very thin, well-adhered vinyl sheet or linoleum, and we're going over it with a floating floor system like LVP. Even then, I'd want to inspect it thoroughly. For tile or glue-down hardwood, almost always, the old stuff has to come out.
What types of flooring hold up best to Big Sky's climate and foot traffic?
This is a big one for Big Sky. We've got extreme temperature swings, dry air, snow, mud, and often, a lot of people and pets coming and going. You need something tough.
- Porcelain Tile: This is my top recommendation for high-traffic areas, bathrooms, and entryways. It's incredibly durable, waterproof, scratch-resistant, and handles our freeze-thaw cycles well, especially for outdoor applications like patios (just make sure it's rated for exterior use). It's easy to clean off mud and snow.
- Luxury Vinyl Plank (LVP) / Luxury Vinyl Tile (LVT): These have come a long way. They're waterproof, very durable, and surprisingly realistic-looking. Great for kitchens, mudrooms, and even main living areas. They handle moisture and temperature changes better than wood.
- Engineered Hardwood: If you want the look and feel of wood, engineered is generally a better choice than solid hardwood for our climate. It's more stable and less prone to gapping or warping with humidity fluctuations. You still need to maintain consistent indoor humidity, though.
Carpet is fine for bedrooms, but I'd steer clear of it in high-traffic entryways or anywhere it'll get wet regularly. Solid hardwood is beautiful, but it requires more maintenance and can be more susceptible to movement in our dry winters and wetter springs if not properly acclimated and maintained.
How do I maintain my new tile or flooring to make it last?
Good question! Longevity isn't just about the install; it's about how you treat it afterward. Here's the rundown:
- Tile & Grout: Sweep or vacuum regularly to remove grit that can scratch surfaces. Mop with a pH-neutral cleaner. For grout, especially in showers, you'll want to seal it periodically (every 1-3 years depending on traffic and product). This helps prevent staining and mildew. Don't use harsh chemicals or abrasive scrubbers on grout.
- LVP/LVT: Super easy. Sweep or vacuum, then damp mop with a manufacturer-approved cleaner or just warm water. Avoid excessive water, and never use abrasive cleaners or steam mops, as they can damage the wear layer.
- Engineered Hardwood: Sweep or vacuum frequently. Use a wood-specific cleaner with a damp (not wet) mop. Wipe up spills immediately. Avoid excessive moisture. Consider felt pads under furniture legs. Maintain indoor humidity levels between 35-55% to prevent gapping or cupping. This is especially important in Big Sky where our winters can be incredibly dry.
Always follow the manufacturer's specific cleaning and maintenance recommendations. They know their product best.
What about radiant heat? Can I put any flooring over it?
Radiant heat is fantastic for comfort, especially up here when it's freezing outside. But no, you can't just put any flooring over it. You need materials that can handle the temperature fluctuations and conduct heat efficiently.
- Tile: This is the king of radiant heat. Tile and stone are excellent thermal conductors and incredibly stable. They're probably the best choice for maximizing the efficiency of your radiant system.
- Engineered Hardwood: Many engineered hardwoods are rated for radiant heat, but you need to check the manufacturer's specifications carefully. Solid hardwood is generally not recommended as it's more prone to warping and gapping with heat changes.
- LVP/LVT: Some LVP products are compatible with radiant heat, but again, you absolutely must verify with the manufacturer. There are specific temperature limits you can't exceed, and some products might off-gas or degrade if they get too hot.
Carpet with a thin pad can work, but it acts as an insulator, reducing the efficiency of your radiant system. Always make sure your installer (like us at Big Sky Bathroom & Kitchen) knows you have radiant heat, so we can use the right materials and installation methods.
Hopefully, this clears up some of those nagging questions you might have had. Getting your flooring right is a big deal, and it's worth taking the time to understand the process and the materials. If you've got more questions, or you're ready to start a project, you know who to call.